A dead phone can ruin your day, especially when you rely on it for work, navigation, or staying connected. Charging issues are frustrating, but they’re often solvable with simple troubleshooting. Common culprits include faulty cables, dirty charging ports, software glitches, or even a failing battery. Before panicking, methodically test each possibility. In this article, we’ll walk through practical steps to diagnose and fix your phone’s charging problems.

1. Basic Checks Everyone Should Try
Test with Different Charger and Cable
The first step is ruling out a faulty charger or cable. Borrow a friend’s charger or use a different one you own. Many charging issues stem from worn-out cables that fray or lose conductivity over time. If your phone charges with a different cable, the original one is likely the problem. Similarly, test multiple wall adapters—some may not provide sufficient power output. Avoid cheap, uncertified chargers, as they can damage your battery or fail unpredictably.
Inspect Charging Port for Debris
Lint, dust, and pocket debris often clog charging ports, preventing the cable from making proper contact. Shine a flashlight into the port and check for obstructions. If you see buildup, gently clean it with a wooden toothpick or a soft brush—never use metal tools, which can damage the delicate pins. A clean port often restores normal charging immediately.
Try Different Power Sources
Sometimes, the issue isn’t your phone but the power source. Test charging from a wall outlet instead of a computer USB port, as the latter provides weaker current. If your phone charges slowly or not at all from a laptop, switch to a wall adapter. Also, try different outlets in case of electrical issues. Power strips or surge protectors can sometimes interfere, so plug directly into the wall for testing.

2. Software-Related Fixes
Force Restart Your Device
Software glitches can sometimes disrupt charging. A force restart (also called a hard reset) clears temporary system errors without deleting data. The method varies by device but usually involves holding the power and volume buttons for 10-20 seconds until the screen flashes. After rebooting, plug in your phone again—many users find this resolves mysterious charging failures.
Check for Battery-Draining Apps
Some apps overwork your phone’s processor, causing excessive heat that slows or stops charging. Open your battery settings to check for unusually high usage. If an app is draining power, uninstall or restrict its background activity. Also, enable “Battery Saver” mode to see if charging resumes—this reduces background processes that may interfere.
3. Hardware Inspection
How to Properly Clean Charging Port
If basic cleaning didn’t help, deeper maintenance might be needed. Power off your phone and use a can of compressed air to blow out stubborn debris. For sticky residue, lightly dampen a cotton swab with isopropyl alcohol (90% or higher) and wipe the port’s interior. Let it dry completely before testing. Repeat if necessary, but stop if you encounter resistance to avoid bending the pins.
Identifying Water Damage Signs
Even minor moisture exposure can corrode charging components. Look for a white or greenish residue inside the port, which indicates corrosion. Some phones have liquid contact indicators (LCIs) that turn red when wet. If you suspect water damage, leave the phone in a bag of silica gel packets or uncooked rice for 24–48 hours to absorb moisture before retrying.
Checking for Bent or Corroded Pins
If your charging cable doesn’t “click” snugly into the port, the pins inside may be bent or broken. Carefully inspect them with a magnifying glass. Bent pins can sometimes be straightened with a needle, but this requires extreme caution—if unsure, consult a professional. Corrosion can often be cleaned with isopropyl alcohol, but severe damage may require port replacement.
4. Advanced Troubleshooting
If basic and hardware checks don’t work, your battery might be failing. Lithium-ion batteries degrade over time, especially if frequently drained to zero. Check your battery health in settings—if capacity is below 80%, consider a replacement. Another test: if your phone only charges when powered off, the battery or charging circuit could be faulty.
5. When to Seek Professional Help
If all else fails, visit a repair shop. Persistent issues may stem from a damaged charging port, faulty motherboard, or battery failure. Professionals have tools to diagnose deeper problems. Avoid DIY repairs for complex issues, as improper handling can cause further damage.
Conclusion
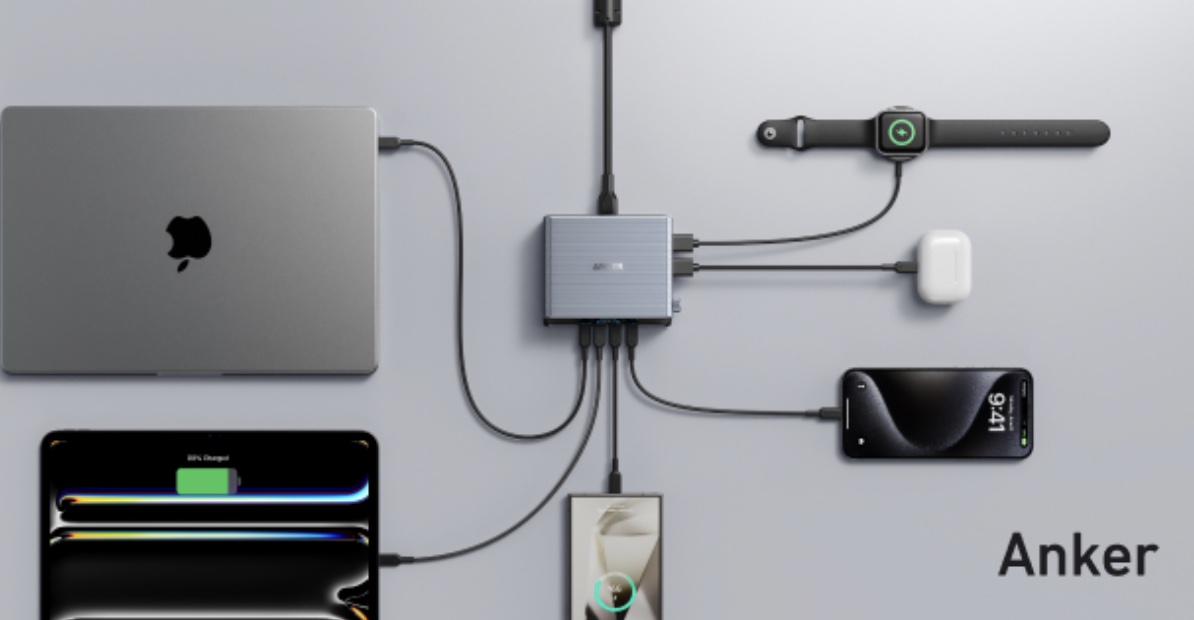
Most charging issues can be resolved with patience and a systematic approach. Start by performing basic troubleshooting before moving on to software or hardware fixes. If you frequently charge multiple devices (such as phones and laptops), consider a clutter-free solution like the anker prime 250w—a multi-device charger that powers several gadgets simultaneously while reducing cable clutter. This approach minimizes charging problems. Keeping your charging setup organized enhances efficiency and prevents future frustrations. By following these steps, you can often restore your device’s functionality while saving time, money, and unnecessary stress.
