
Setting up a home CCTV camera system might seem daunting, but with the right planning and tools, it’s a manageable DIY project. A well-installed CCTV system provides 24/7 monitoring, deterring intruders and giving you peace of mind. Whether you’re using wired or wireless cameras, the process follows a similar logic: plan your setup, install the cameras, connect them to a recording device, and configure the system. This guide breaks down each step in simple terms, ensuring you can set up your CCTV system without professional help.
Plan Your Setup: Choose Cameras and Locations
Before picking up tools, take time to plan your CCTV system. This ensures you cover all critical areas and avoid common mistakes.
Select the Right Cameras
Start by choosing the cctv camera for home that fits your needs. Wired cameras (connected via cables) offer stable connections and don’t need batteries, making them ideal for permanent setups—great for monitoring entry points like doors or garages. Wireless cameras are easier to install and flexible in placement, perfect for renters or those who want to move cameras later. For outdoor use, opt for weatherproof models (IP65 or higher) to withstand rain and dust. Indoor cameras can be smaller and less rugged. Consider features like night vision (essential for low-light areas) and motion detection (to trigger recordings). Most importantly, ensure the cameras are compatible with your chosen recording device (a DVR for analog systems or an NVR for digital ones).
Map Key Locations
Identify the areas you need to monitor. Focus on high-risk spots: front and back doors, garage entrances, driveways, and ground-floor windows. For large yards, position cameras to cover paths or gates. Avoid pointing cameras at neighbors’ windows or public spaces to respect privacy. Use a tape measure to check distances—wired cameras need cables long enough to reach the recording device, while wireless cameras require a strong Wi-Fi signal (test with your phone; if the signal is weak, add a Wi-Fi extender). Mark spots on a sketch of your home to visualize coverage and ensure no blind spots.

Install Cameras and Connect to Power
With a plan in hand, it’s time to install the cameras. Follow these steps for a secure and functional setup.
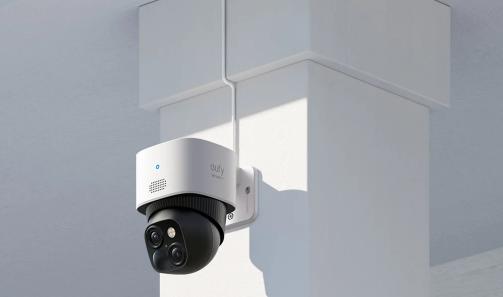
Mount the Cameras
Most cameras come with mounting brackets and screws. For outdoor cameras, use weatherproof screws to attach brackets to walls or ceilings. Ensure the camera is angled to cover the target area—tilt it slightly downward to avoid glare from the sun or streetlights. For indoor cameras, place them high (7–10 feet) to prevent tampering and cover a wider area. Use a level to keep cameras straight, so footage isn’t skewed. If drilling into walls, check for hidden wires or pipes first (a stud finder can help). For renters, use adhesive mounts or suction cups to avoid damage.
Connect to Power and Recording Device
Wired cameras need two connections: power and video. Plug the power adapter into a nearby outlet (use a surge protector for safety) and connect the video cable to the DVR/NVR. Wireless cameras typically run on batteries or a power adapter—insert batteries or plug them in, then follow the app instructions to connect to Wi-Fi. For the recording device (DVR/NVR), place it near a power source and router (if using network storage). Connect the DVR/NVR to a monitor via HDMI to view footage, or link it to your router for remote access. Most systems include setup wizards that guide you through connecting cameras—follow on-screen prompts to pair each camera with the recorder.
Configure and Optimize the System
Once installed, configure your CCTV system to ensure it works smoothly and meets your needs.
Set Up Recording and Alerts
Access the system’s menu (via monitor or app) to set recording preferences. Choose between continuous recording (24/7) or motion-triggered recording (saves storage space). Adjust motion sensitivity to avoid false alerts from moving trees or pets—most systems let you set “activity zones” to focus on critical areas. Enable alerts to receive notifications on your phone when motion is detected. For cloud storage, create an account with your camera’s app and link it to the system. For local storage, insert an SD card into the cameras or connect an external hard drive to the DVR/NVR. Test recordings by walking in front of cameras to ensure they capture clear footage.
Test and Troubleshoot
After setup, test the entire system. Check each camera’s view on the monitor or app—adjust angles if they miss spots. Verify night vision by turning off lights; footage should switch to clear black-and-white. Test remote access by viewing footage on your phone while away from home—if the connection is laggy, move the router closer to the NVR or add a Wi-Fi extender. Ensure all cables are secure (loose wires cause signal drops). If a camera isn’t working, check the power source or restart the system. Most issues are solved by re-pairing cameras with the app or updating firmware (available in the app’s settings).
Conclusion
Setting up a home CCTV system is easier than it looks when you break it into steps. By planning your camera locations, choosing the right equipment, and following simple installation and configuration steps, you can secure your home in a weekend. Remember to test the system thoroughly and adjust settings as needed. A well-installed CCTV system not only deters crime but also lets you monitor your home from anywhere, giving you confidence that your property is protected. With this guide, you’ll have a functional CCTV system up and running in no time.